I wanted a rowing boat in the style that I remember from my childhood in England and eventually decided to build one myself. After a lot of reading and web searching I chose an Iain Oughtred design, the Acorn 15. For a description of the Acorn 15 click here.

If you would like to contact me please Click to Send me Email


Wednesday 31 August 2011

Day 35 - Buoyancy Compartment and Sternsheets

I have glued the ply covers on the aft buoyancy compartment after painting all of its inside with two coats of epoxy. The round plastic screw top hatches are a bit ugly so I made a ply cover for the lid. The photo below shows the cover; I will add a strip of wood across it to serve as a handle. The quarter knees, laminated and shaped some time ago, have now been glued in place. The photo also shows the sternsheets shaped but not finished yet. These will be screwed in place so they can be removed if necessary.

To the left of the photo one of the floors (stiffens the hull and supports the floorboards) is visible. These are shaped to fit the inside of the hull and glued in place. There are 7 of these and most of them have been shaped. I will finish the rest and glue them in over the next couple of days. The parts that fit to the inside of the hull are tricky to clamp while the glue sets but a way will be found!

Monday 29 August 2011

Brisbane Boat Show

No work done on the boat for a week because it has been at the Brisbane Boat Show in a display of wooden boats by the Brisbane branch of the Wooden Boat Association. It was displayed as a "work in progress" to give people an idea of the construction process.

Here is a poor photo of my boat in a line of finished boats. It was difficult to take a photo of the boat against the light coming through the large windows.


I brought the boat home today so I should be able to get back to work on it tomorrow.

Tuesday 16 August 2011

Day 34 - Glued Up More Floors and Boards For Sternsheets

Glued up the rest of the laminated floors for stations 3, 6 and 9. Here they are sitting in the sun to give the epoxy a bit of a hurry up.


Glued some narrow boards together to make wider boards for the sternsheets. These boards are about 1.7 metres long so the clamping was a bit tricky - have to keep them flat while applying pressure the the edges. Need more clamps!


Started shaping the floors laminated earlier and found a mistake. The first batch of laminations should have had another strip when they were glued (fortunately todays batch have an extra strip). Here is a photo of a finished lamination next to one that is still in its grotty state. The lower piece has been shaped to fit nicely against the planks of the hull with a nice fair curve across the top. Unfortunately, it is too thin. It may be possible to fix this by gluing another lamination to the top - at least I hope so!


Sunday 14 August 2011

Day 33 - Breasthook, Quarter Knees, Thwart Cleats, Aft Bouyancy Compartment

This post covers about 4 days work spent cutting various weird shaped pieces of timber. Individually they weren't very photogenic so the blog hasn't been updated. The breasthook was made of 2 pieces of 1" thick oregon, glued and screwed together with 2 lengths of threaded brass rod. The quarter knees were laminated some time ago and have been cleaned up and shaped to fit the transom and gunwales. There are 6 thwart cleats which are glued to side of the hull to support the thwarts. Each one had to be shaped individually and there is hardly a straight side on them!

The boat will have two bouyancy compartments (bow and stern) to help with flotation in the event of a capsize. The framework for the aft compartment has been made and glued in place. Here are a couple of photos of the framework. The gaffer tape (grey) is holding the two lower strips in place until the epoxy sets.


The two lighter strips in front of the compartment are a pair of the thwart cleats. Not glued yet, they are help in place by gravity and gaffer tape, magic stuff.


The last photo shows one of the quarter knees held in place temporarily by a clamp. These knees and the breasthook will be glued in place after most of the other work is done inside the hull and before the inner gunwale is fitted.


Tuesday 9 August 2011

Day 32 - Turned the Boat Over

Since the last post I have spent a lot of time sanding the blue and pink undercoat back to a smooth surface. This was a dirty and tiring job!

Today I turned the boat over to begin work on the inside. It isn't heavy and two or three people could simply lift it up and turn it over. Working by myself I set up two pulleys with rope slings around the boat. I raised and propped up one end at a time and tightened the sling at that end. With the boat supported by the slings I simply turned while the slings ran through the pulleys. Here are some photos of the process.

Up she goes. Three moulds are left in place to keep the gunwales apart.


At the half way point.


All the way round.


Here is the inside. The three moulds have been replaced by temporary braces that can easily be removed and replaced to provide better access. The next task (about as tedious as sanding the outside) is to remove all the epoxy that squeezed out of the plank joints on the inside. If you double click on the photo you will zoom in and be able to see the epoxy glinting along the joints - about 60 metres of it!


Friday 5 August 2011

Day 31 - Three Coats of Primer

The boat has been four different colours today! It started out with the clear epoxy sealing coat. This was sanded gently, mainly to provide a key for the next layer of paint but also to flatten out the craters left by the bubbles where air came out of the wood under the epoxy.

The primer I used is Aquacote, a water based high build two part epoxy paint intended to build up a thick layer that can be sanded back to a smooth surface. The instructions on the label say to apply a thick layer at a rate of of 3 - 5 square metres per litre and follow this with a second coat when the first is tacky. I can't put paint on thick so I gave it three coats. The outside of the boat is around 6 or 7 square metres and I used 1 litre of paint per coat. By this reckoning the primer isn't thick enough but hopefully it will sand out flat.

The paint in the can is off white so the first coat went on that colour. I tinted the second and third coats pink and blue so I could see where I was putting them during the painitng. I will also be able to see how much paint is left during the sanding.

Here's a photo of the third (blue) coat going on. Don't be upset by the colour scheme, it is going to be covered up!

Wednesday 3 August 2011

Day 30 - Hull Sealed With Epoxy

After a final vacuum and wipe over with a cloth moistened with acetone I gave the whole of the hull a coat of epoxy. I am using West Systems epoxy and their advice was strongly against thinning the epoxy so it went on neat. I brushed it on and found that it went on fairly easily. I made up small batches, each enough for about 1/8th of the total area, and washed the brush out in acetone after each batch.

I gave it two coats with the second applied when the first reached the end of the tacky stage. I was very lucky with the second coat - I almost ran out of epoxy! There were about three brushloads of the last batch left when I had finished.

Here are a couple of photos, the second coat is still wet.


Days 26 to 29 - Finishing Touches on Hull and Start Shaping Oars

Finishing the outside of the hull ready for sealing didn't involve a lot of work but was spread out over several days. The first job was to fit a sacrificial strip of hardwood along the keel. This was held in place with temporary nails until the glue set. While waiting the outer gunwales were rounded off on their lower edge and the hull sanded. A batch of epoxy was mixed up with a fairing compound to fill a few nail holes, dents, etc. I must have made a mistake with the pumps (perhaps two of resin and one of hardener?) because it was still too soft to sand 48 hours later so I scraped it off and tried again. Second time lucky! Here is the hull ready for sealing at the end of day 29. It is actually quite shiny with the dust vacuumed off.


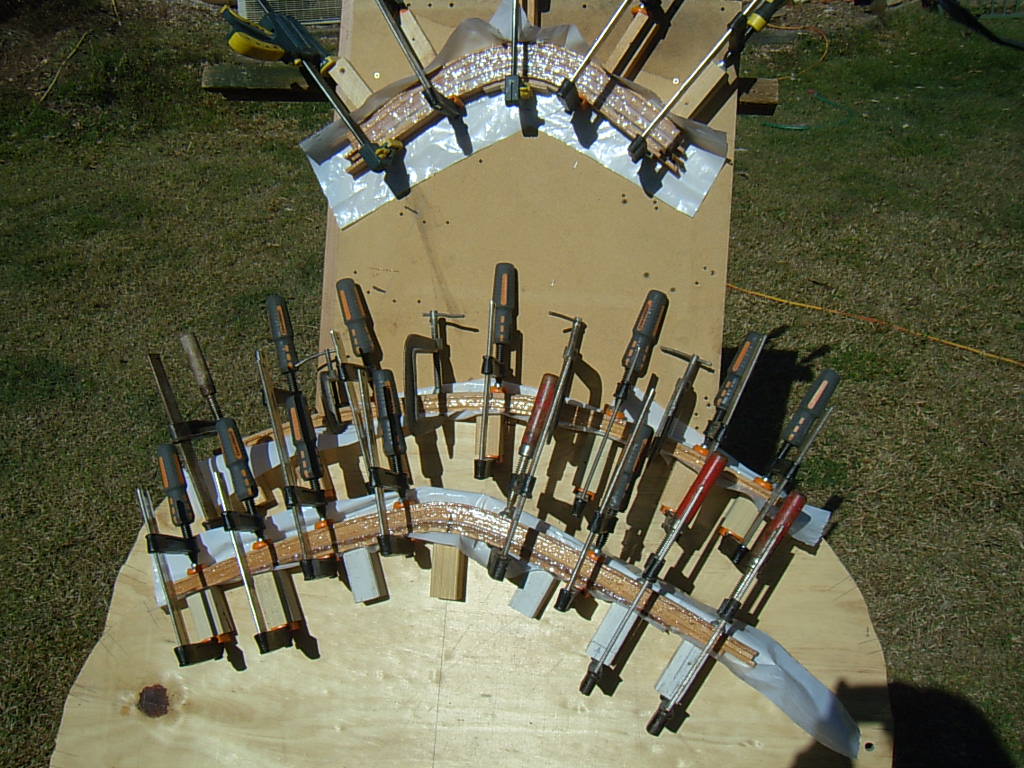
While I waited for the dodgy batch of epoxy I started shaping the oars, the blanks were glued up some time ago. The best way of removing the waste timber from the front and back of the blade would be with a bandsaw but, unfortunately, my bandsaw can only cut 100mm so could not be used. Rather than making multiple saw cuts, chopping the waste out with a chisel and then finishing with planes and spokeshave I decided to use my router. I build a jig in the form of a channel wide enough to hold the blade of the oar. The sides of the jig were shaped to the profile of the concave side of the blade. I added a pywood shoe to my router. The router was placed on top of the jig and slid about, increasing the depth of cut by about 5mm increments. Here is a photo of the setup.


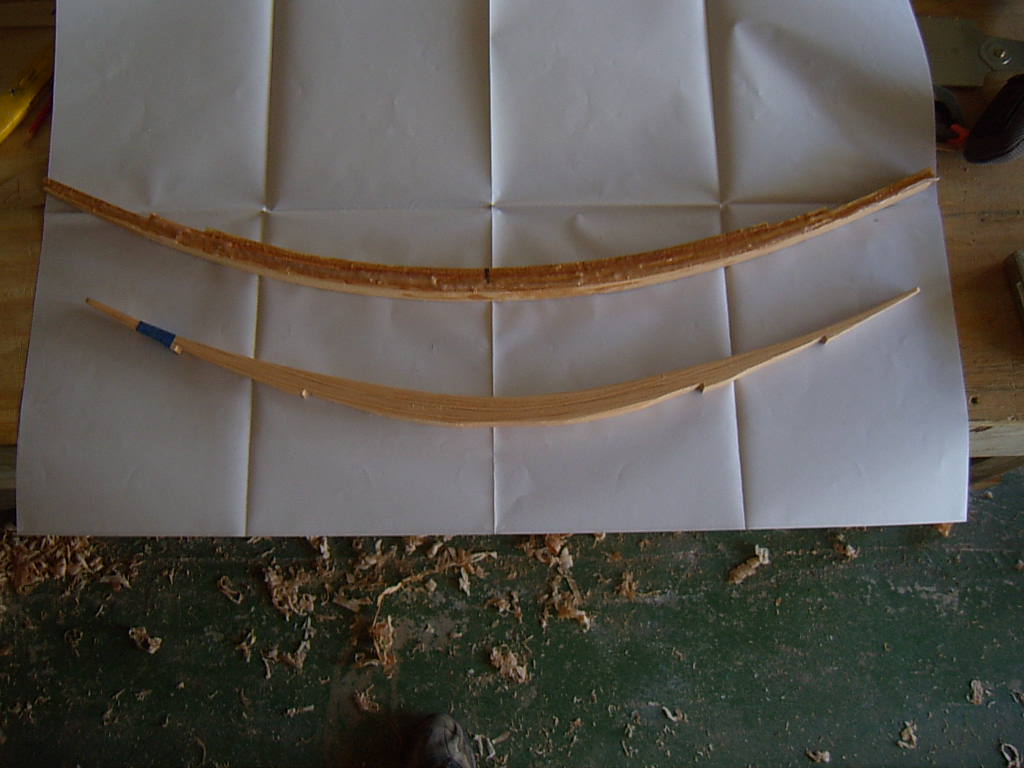
Viewed from the side the concave curve of the jig can be seen. The other 3 shaped blanks can be seen in the background.


I made a similar jig to shape the other (convex) side of the blade. This approach may sound complex and time consuming but each jig took less than an hour to make and using them to remove the waste took about 15 minutes per side for each blade. The total time was about 4 hours, far less than than the sawcut and chisel approach. Finishing them will be easier too.